
How to Make Any Size Circle for Quilt Appliqué
I've seen all sorts of tools and gadgets for making all sorts of shapes in quilting. But, making circles does not involve buying those new, expensive sets of metal donut shapes. I've been using my technique for over 30 years; that's because I HATE needle turn appliqué.
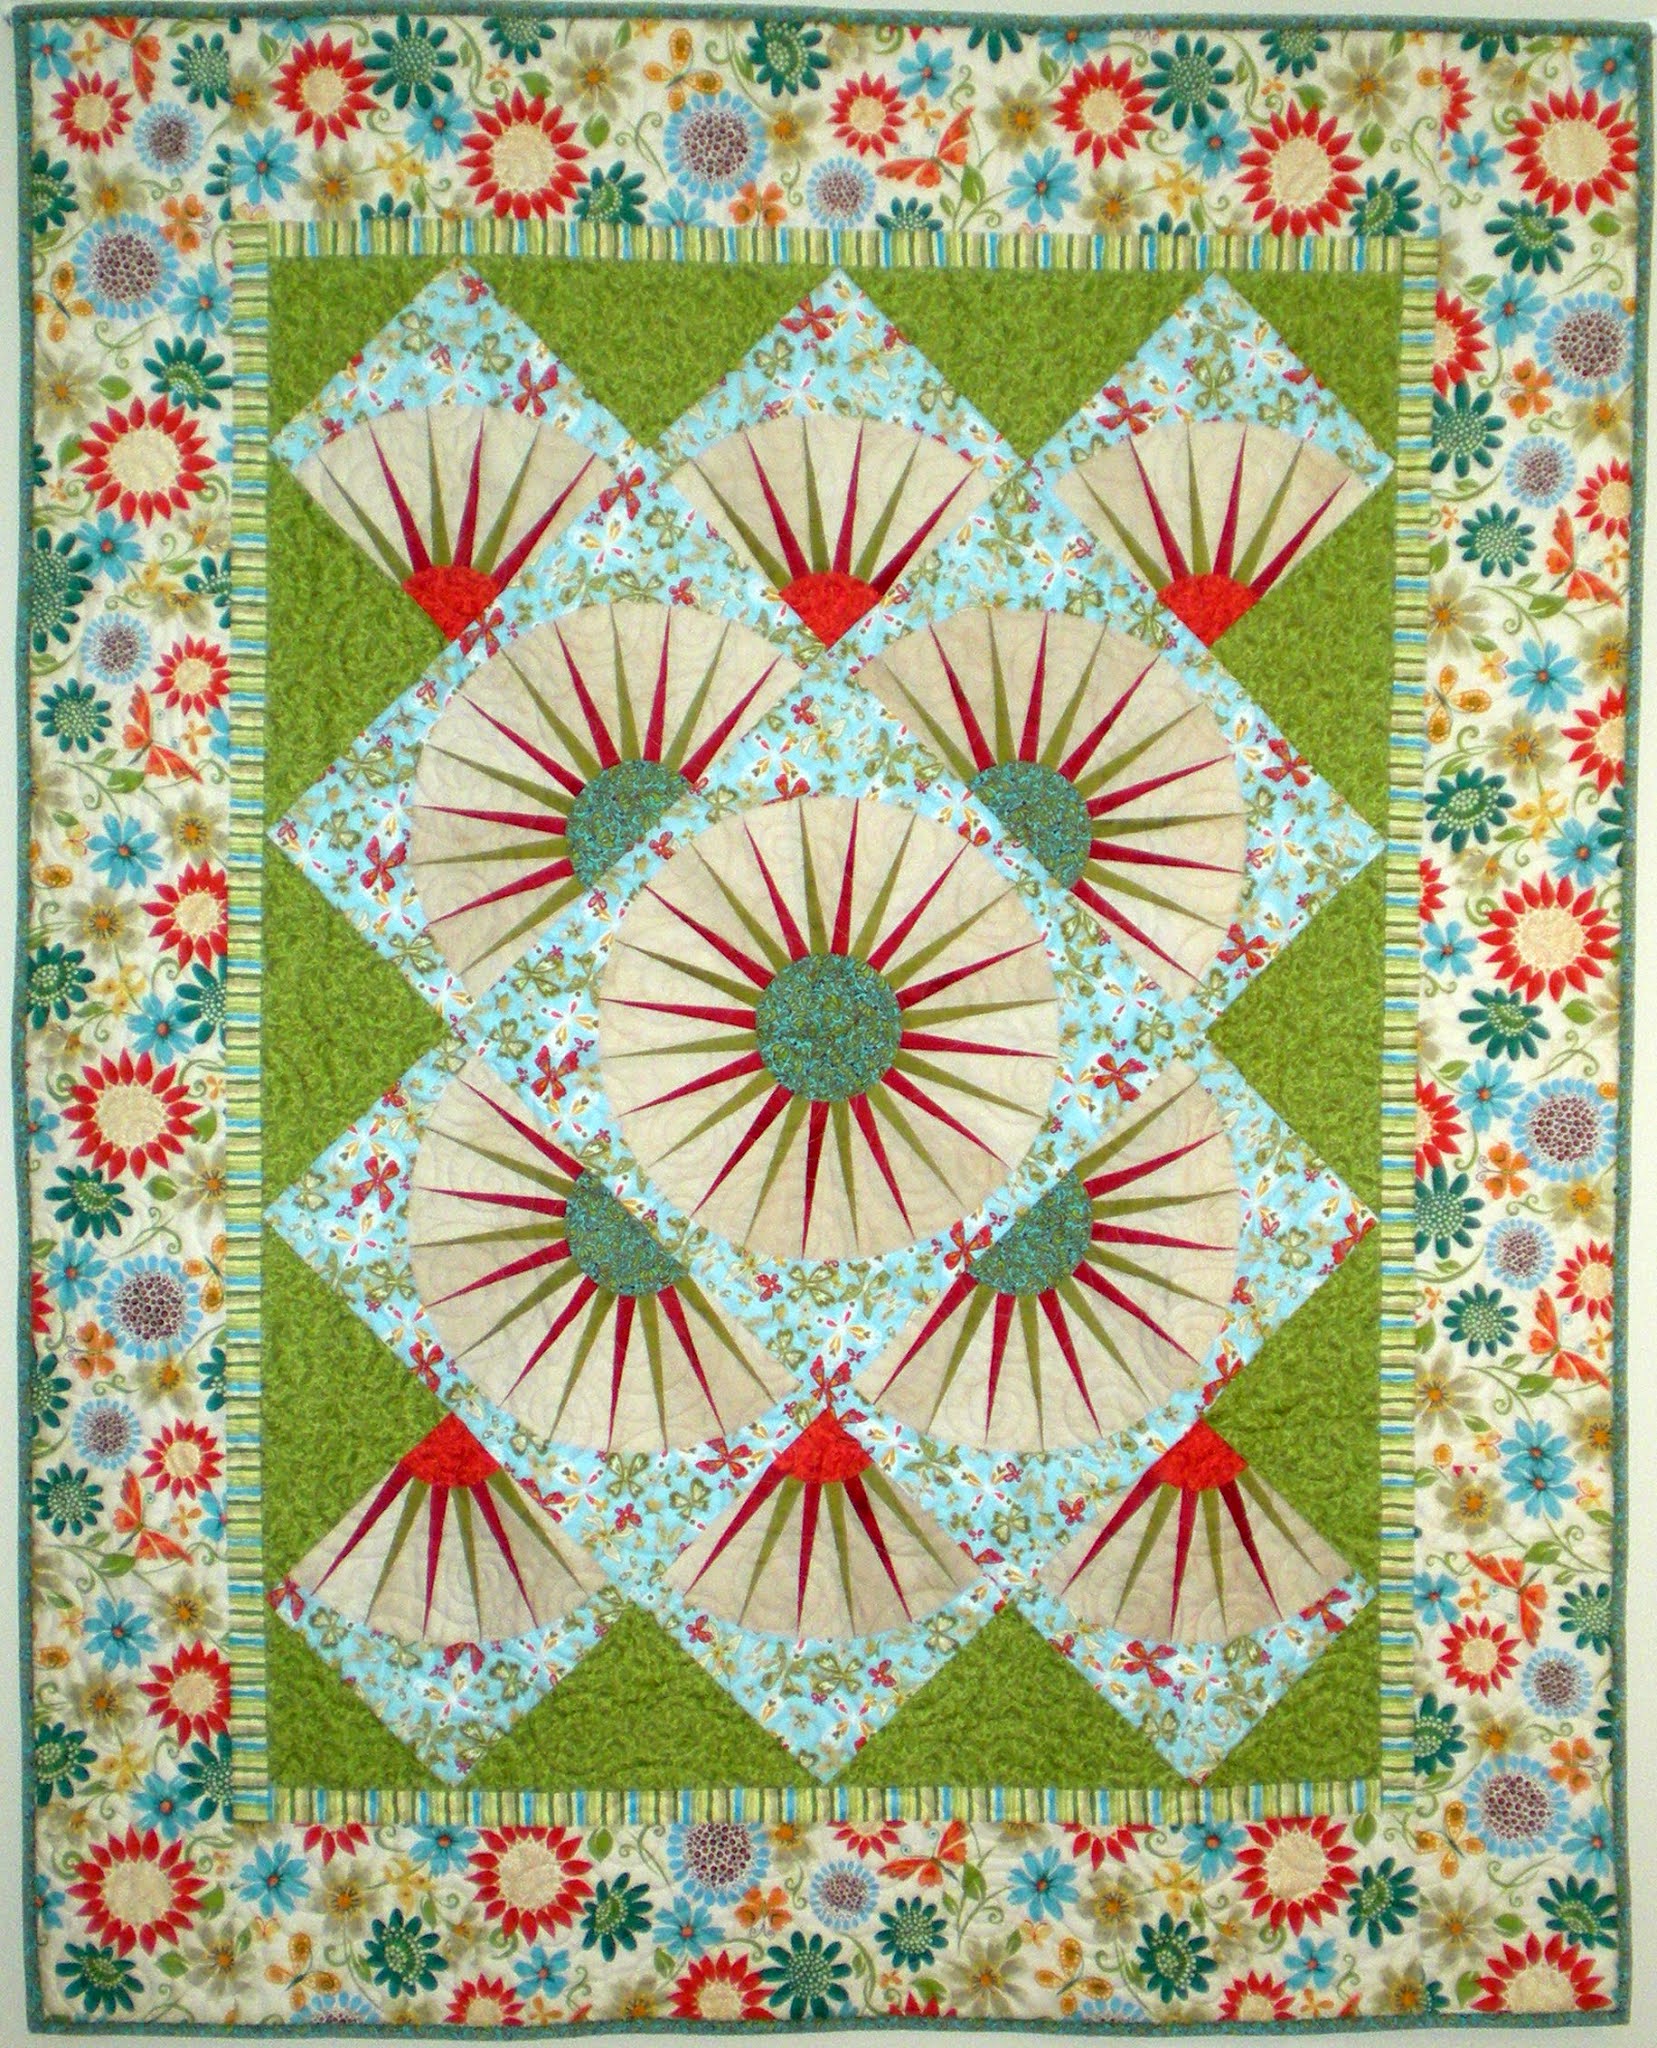
Here's my design created for P and B Fabrics a few years ago. Two different sizes of circles. I've gone between raw edge appliqué and sewing with interfacing and turning. These can be made with either technique. Floating Circles is FREE online. Check it out!
 |
| Floating Circles FREE Pattern |
Here's my Facets of Color Holiday Tree which uses this technique. I used a plastic margarine lid for the circle shape. No kidding! Do you know how many DIFFERENT sizes of circles you have around your house? I'll wait a few minutes while you go look around.
 |
| Facets of Color Tree |
Are you back? Are you ready to see those steps? When I first thought this up (though I'm sure I'm not the first), I used my background in garment sewing and thought: interfacing! But, I didn't have any in the house. BUT - I had some used fabric dryer sheets (no kidding!). I can still see myself standing in my laundry room with those dryer sheets in my hand - 30 years ago! It helped me finish a Block of the Month appliqué quilt I was working on.
I am a butter girl, but my husband had bought this margarine tub at the store and we worked our way through it. So, the lid became the size I wanted for this quilt I created. I traced the circle onto a square of medium weight interfacing (sold by the yard at your local Michael's or Joanns, etc).

Then I placed it onto the fabric I chose. I sewed around the drawn circle. Then trimmed it to about 1/8"

Turned it right side out and have 1 circle; 2 circles; all the circles. I attached them with machine zigzag.
This worked for my Dori quilt (2013). I fussy cut this motif in the center of the size of circle I wanted. Interfaced it, turned, clipped and it's ready to be appliquéd to the center.

Here's the quilt (from 2013).

I did the same thing with the centers in all of my mariner's compass patterns. This is Katie's Garden (from my last book). Yes, I did this with the half and quarter circles, too.
 |
| Katie's Garden from Paper Piecing Perfect Points |
OK. I think you got the idea. ANY size circle will do for this. Dash into your kitchen and look at those Tupperware lids, yogurt tops, plates. You get the picture! And if you don't have any interfacing, go do a load of laundry, dry it and then use one of those dryer sheets (they're a bit flimsy these days, but they will work in a pinch.) You're welcome!
See you tomorrow for Butterfly Week: Day Four.
Does help to get a perfect circle. I like needle turn but I have used this method for hand sewing also.
ReplyDeleteThank you.
Stay safe
Thanks for stopping by, Nancy. Yes, this is the ONLY way I can get perfect circles. I tried needle turn ONCE and threw my sample in the trash (yes, I did!).
DeleteWhy didn't I think of this for a Peace Angel quilt I made and a Sisterhood Quilt I made. Oh well, I know now, thanks to you. Sometimes the simplest of ideas needs to be taught. Thank you so very much.
ReplyDeleteYou're welcome, Rebecca. Glad I was able to change your life (ha ha; just thinking). It is simple and I'm sure I thought of it because of years of garment sewing. Interfacing, zippers, buttonholes and the like!
DeleteGreat demonstration. Thank you
ReplyDeleteGlad you liked it, Johanna. Simple is always preferred to too many details. I have more circles waiting in the wings. Maybe I'll do a "Circle Week."
ReplyDeleteWhat a cool idea! So very neat. Thank you for the info! Enjoy your day! 🦋🌾🍁🍂
ReplyDeleteThank you for the reminder and pattern! Circle week sounds like fun!
ReplyDeleteDo you use iron on interfacing or regular sew in. Also wondering if you cut away the extra interfacing and just leave a small amount.
ReplyDeleteOh thank you thank you for the circle reminder! Launching into the finishing aspect of a quilt top with appliquéd circles, so this post was perfectly timed!
ReplyDeleteI don't mind needle turn applique, but I think I will give this a try. Thanks for the tip.
ReplyDelete