Quilter's Block a Day Calendar: Week 31 and FREE pattern
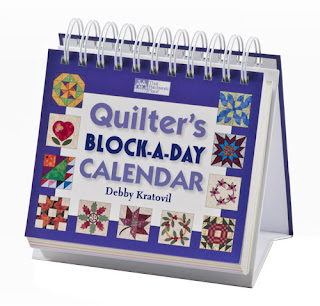
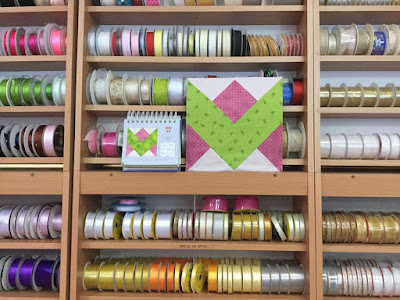
How about this? Week 31 already! Thanks for still staying with me as I share Patricia's blocks made using my block a day calendar. Quilter's Block a Day Calendar Some of you are thinking I made these myself. Ha! It makes me feel tired to think I did all that sewing. (I think Patricia is still on vacation after completing these.) Remember her pile of blocks? All 366 blocks that Patricia Bryant made from my calendar Now for this week's show! July 30: Thrifty July 30: Thrifty, 6" July 31: Town House July 31: Town House, 6" August 1: Angel Fish August 1: Angel Fish, 6" Here's my free pattern this week. I made the Angel Fish in the 12" size (as found on my Calendar CD). I pulled out my Kaffe Fassett scraps and my own Arrowhead rulers (which are the same angle as the Tri-Recs rulers) and made this. The paper templates are included for both 6" x 12" sizes. 12" Angel Fish in mostly Kaffe Fasse...