
Double Wedding Ring Week: Day 1
Another week, another theme. As you know, I've been "sewing for the camera" for 28+ years. That means that each time I finish a project and it gets published, I get paid! Or I have a new workshop, also for which I get paid. You could probably call me a mercenary, but I actually love what I do and even sew quite a bit for enjoyment. I haven't had a job since mid-March, but I've made a lot of quilts - so, maybe I'm not a mercenary!
 |
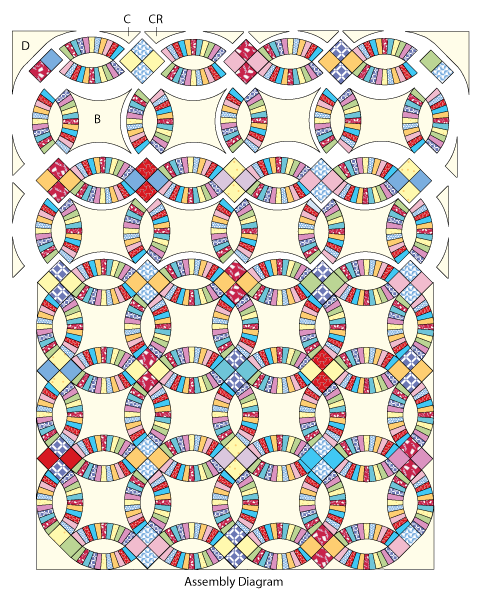
| Double Wedding Ring: 44" x 56" |
This is my latest Double Wedding Ring quilt finish. I started it in 2009. The arcs are paper pieced. Those melon shaped centers are sewn to them for the center of the blocks. The outside is typically sewn in quite a contorted way. Let me show you the traditional method of construction.

Here's another way to approach it, but still you will have to do some contorted sewing to get the rest of the units attached! I was exploring a variety of ways, but they didn't sit well with me!
 |
| Working from the center out |
 |
| I finally deconstructed this! |
I settled on breaking the units up into SQUARE blocks. This unit uses a different fabric collection but the same templates.


You can see it here in a 3rd quilt using Kaffe Fassett fabrics. The next unit to be joined is another pieced arc with the center melon and the corner squares. NO gray background corner.


I pieced as many blocks as I could for the 1930s inspired quilt at the top. I sewed until I ran out of the cream background fabric. I didn't want curved edges on the outside, so my blocks are squared up.
Tomorrow I'll show some other Double Wedding Ring (DWR) themed projects. I don't have a written pattern for this particular version, but I may get to it if there's enough interest.
Hi Debby! Beautiful. I've always wanted to make this pattern. ~smile~ Roseanne
ReplyDeleteTakes a good bit of time, but worth it. Thanks for the kind words!
DeleteLove all these beautiful designs....makes for a warm feeling.
ReplyDeleteThanks! Quilts do keep us warm, right?
DeleteStill sounds difficult to me, but I do love the double wedding ring.
ReplyDeleteYes, the DWR is considered an advanced pattern; not for beginners. Being able to paper piece those arcs made this doable. Don't think I'll make any more; just needed to make one in vintage inspired fabrics!
ReplyDeleteI love it! You mentioned you didn't have a pattern for that particular version. So there is no paper pieced version of the double wedding ring?
ReplyDeleteLoved seeing this post, your pretty quilt of 30s repros and that you are doing this series! I had planned to go back to work on my own DWR (started in 2010) next week so your finish gives me hope that maybe I CAN move mine along too. It's an old QNM design that was patterned for paper piecing but I made mine with traditional acrylic templates. The center is all pieced, I just need to add the appliqued (plain, straight) borders. Ironically, I look forward to making another one using what I hope will be a quicker strip pieced method but I gotta get the first one done before even thinking about trying another!
ReplyDelete